

How to install roller blinds
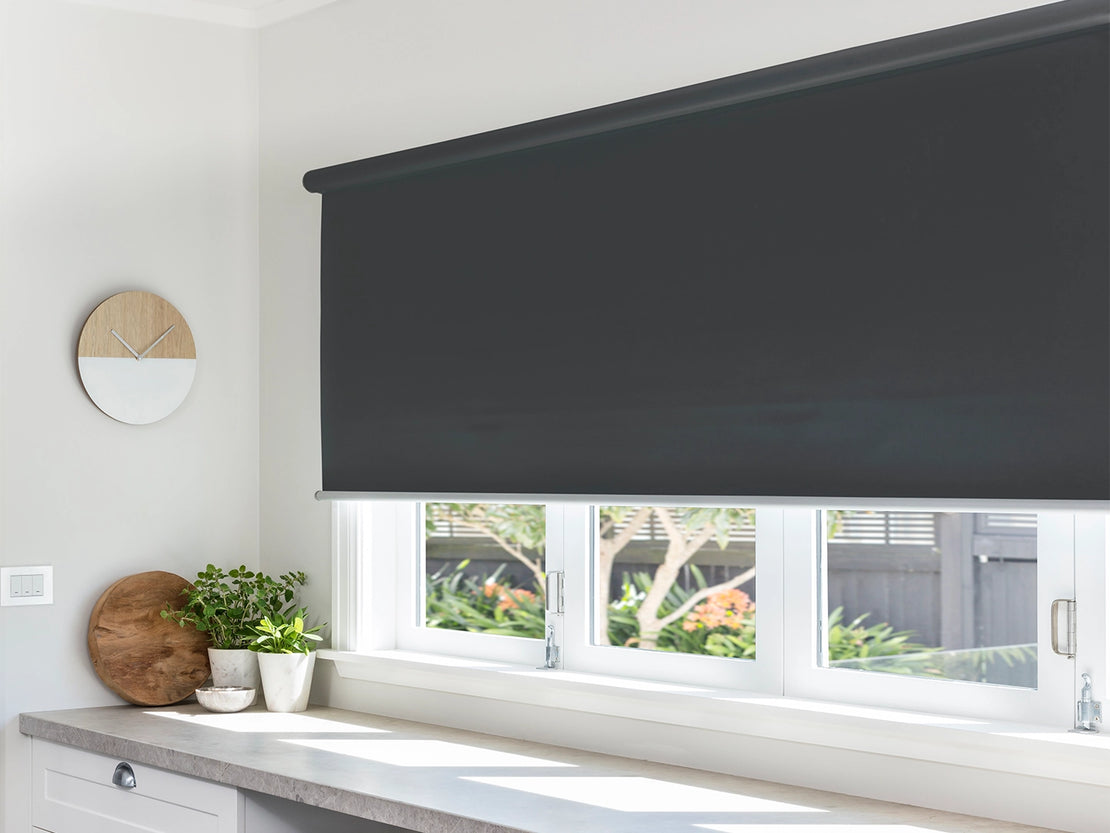
Installing roller blinds is a simple and effective way to add style, privacy, and light control to your home. With just a few basic tools and a little time, you can achieve a professional-looking finish that enhances any room.
Your Curtain Studio roller blind will come with 2x mounting brackets, 1x chain control unit, 1x pin end unit, 2x bottom rail end caps, 1x child safety device (attached to chain), screws and masonry plugs.
You will need the following tools; pencil, spirit level, tape measure, 2mm drill bit, electric drill, screw driver, ladder.
Check what substrate you are fixing your blind into and that there is sufficient support for the weight of the blind and brackets. We suggest fixing into studs, brick or timber and that the appropriate attachments for the drill are used.
Follow our step-by-step guide to make the process quick and hassle-free.

1.
Your Curtain Studio roller blind can be installed as either a front roll or back roll blind with the chain control on either the left or the right.
Front roll - the blind fabric rolls over the top of the blind.
Back roll - the blind fabric rolls off the back of the blind next to the window.

2. (a)
Deciding on which way to roll your blind.
Front roll - use a front roll blind if you have hardware protruding from your window and you are installing the blind inside your window frame. A front roll blind will sit approx. 6cm from the window.

2. (b)
Deciding on which way to roll your blind.
Back roll - a back roll blind is recommended for an outside fit or if you want the blind to sit hard against the
window and don’t have any hardware that will interfere with the blind e.g. handles.

3.
Curtain Studio roller blinds are supplied with two brackets. Bracket "A" fits the chain control unit. Bracket "B" fits the pin end. Brackets are universal and can be fixed to the top or side of the window frame or into the wall for an outside mount.
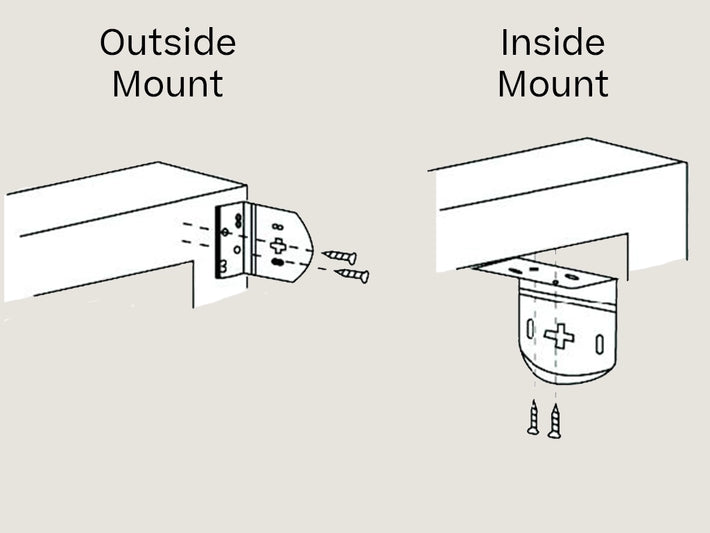
4.
We recommend using an outside mount for a back roll blind to reduce the light filtering through the sides of the blind. For best results a front blind should be installed inside your window frame (inside mount).
- Hold bracket "A" on the side of the window chosen for the chain control end. With a pencil, mark the two screw holes.
- Hold bracket "B" on the opposite side of the window and mark the two screw holes.
- With a 2mm drill bit pre-drill your screw holes. If mounting on a wall use the masonry plugs provided.
- Using the screws provided, fix the brackets to the window frame with a screw driver. Do not over tighten the screws.

5.
Hanging your roller blind.
- Push an end cap into each end of the bottom rail.
- Attach the chain unit to bracket "A" making sure the chain is hanging down freely and is not caught in the control unit. See diagram above for correct orientation.
- Turn the large wheel on the pin end anti-clockwise to retract the metal pin all the way in. Raise the blind up to the bracket and turn the wheel clockwise to extend the pin into the locking hole of the bracket.